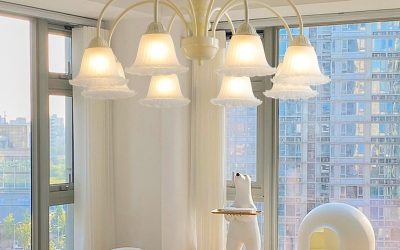
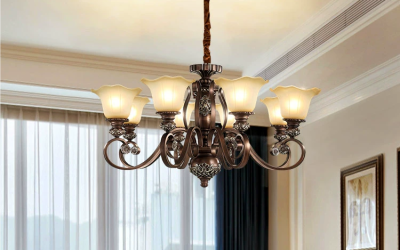
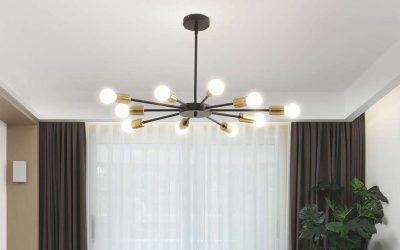
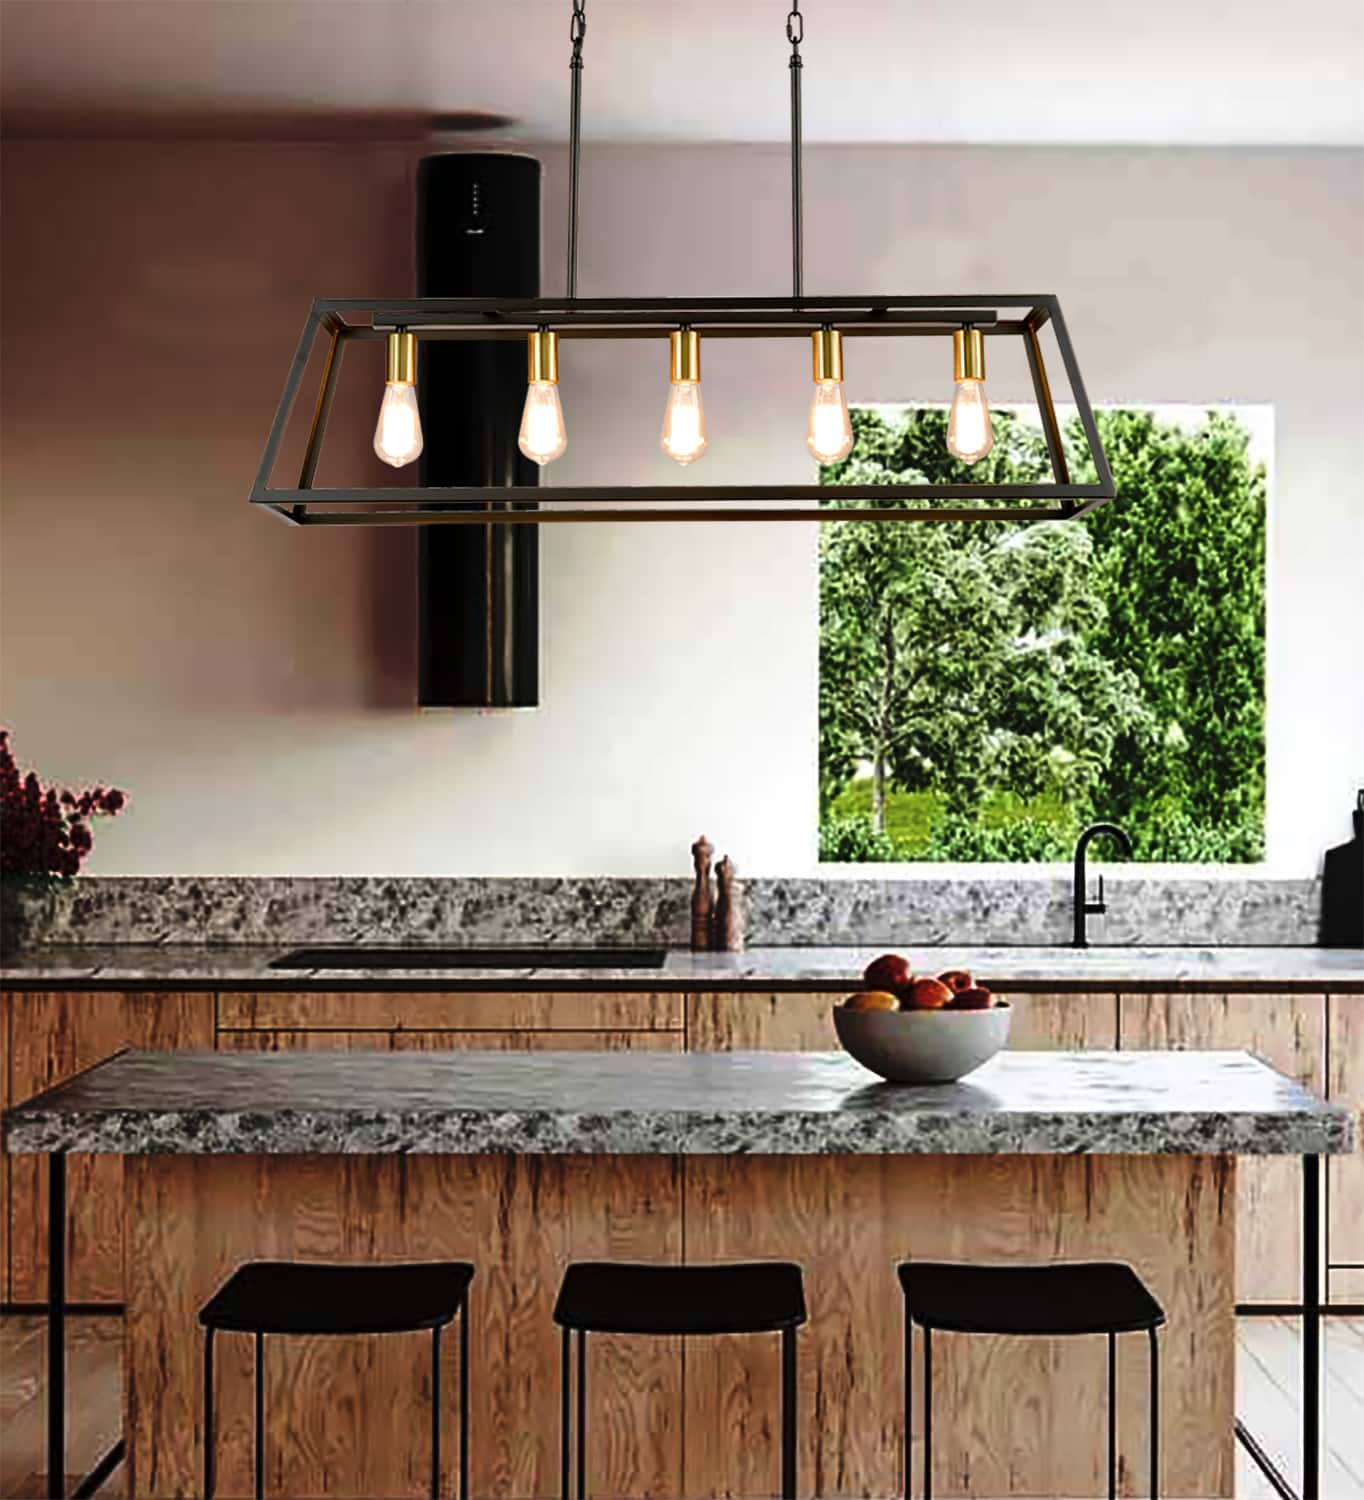
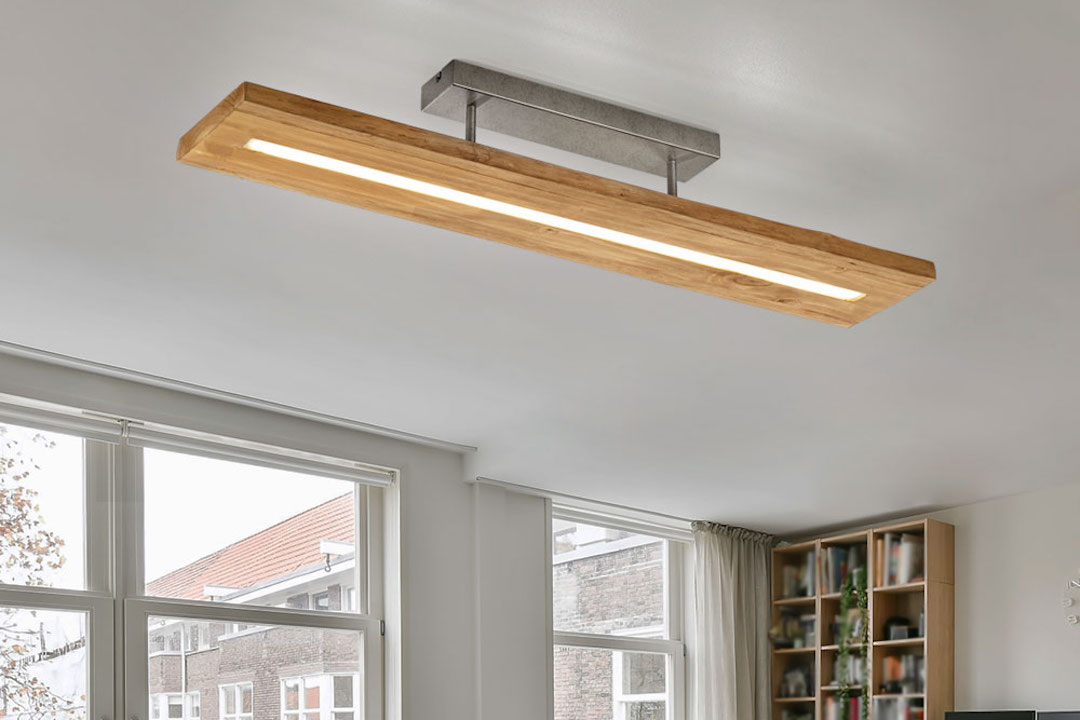
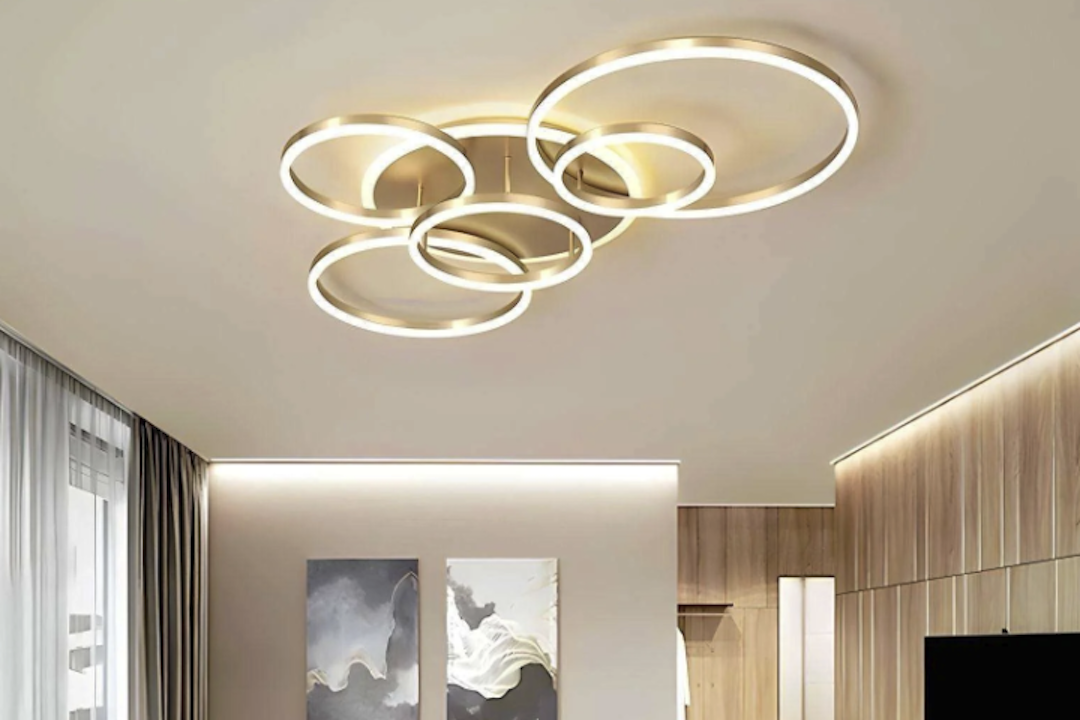
Lighting plays a crucial role in any living space, and the living room is no exception. It sets the mood, enhances visibility, and adds to the overall ambiance of the room. One of the key elements of living room lighting is the ceiling light. Ceiling lights not only provide functional illumination but also serve as a decorative element that can enhance the aesthetic appeal of your living room.
Benefits of Updating Your Living Room Ceiling Light
Updating your living room ceiling light can bring a multitude of benefits to your space. Firstly, it improves functionality and visibility. A well-lit living room allows you to perform tasks such as reading, working, or entertaining with ease. It eliminates dark corners and shadows, creating a more inviting and comfortable environment.
Secondly, updating your ceiling light can enhance the ambiance and mood of your living room. Different types of ceiling lights can create different atmospheres. For example, pendant lights or chandeliers can add a touch of elegance and sophistication, while recessed lights or track lights can create a modern and minimalist look.
Thirdly, updating your ceiling light can lead to increased energy efficiency and cost savings. Older lighting fixtures tend to be less energy-efficient, consuming more electricity and increasing your utility bills. By replacing them with energy-efficient LED lights or other modern lighting options, you can significantly reduce your energy consumption and save money in the long run.
Lastly, updating your living room ceiling light can boost the value of your home and improve its aesthetic appeal. A well-designed and properly installed ceiling light can become a focal point in your living room, adding a touch of style and sophistication to the space.
Types of Living Room Ceiling Lights
There are various types of ceiling lights available for your living room, each with its own unique features and benefits.
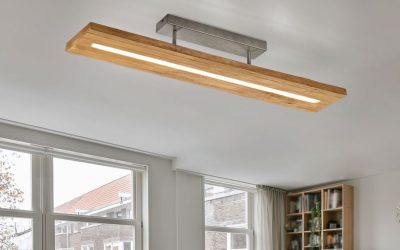
1. Flush mount lights: These lights are mounted directly against the ceiling, providing a clean and seamless look. They are ideal for low ceilings or rooms with limited space.
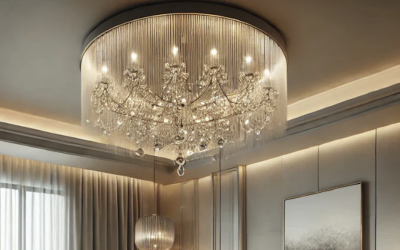
2. Semi-flush mount lights: Similar to flush mount lights, semi-flush mount lights are also mounted against the ceiling but hang down slightly, creating a more decorative and stylish look.
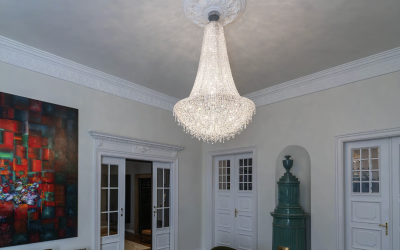
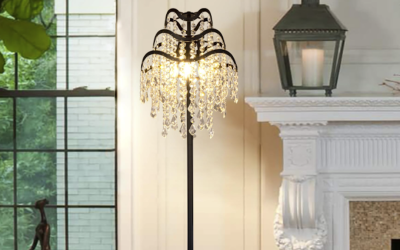
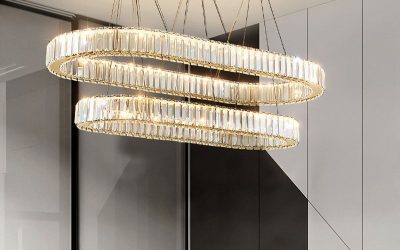
3. Chandeliers: Chandeliers are a classic choice for living room ceiling lights. They come in various styles and sizes, adding elegance and sophistication to any space.
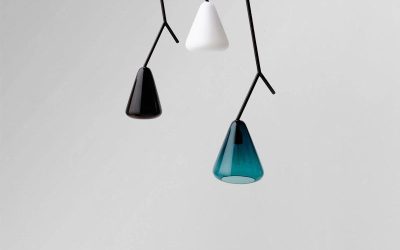
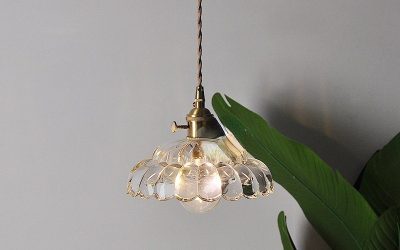
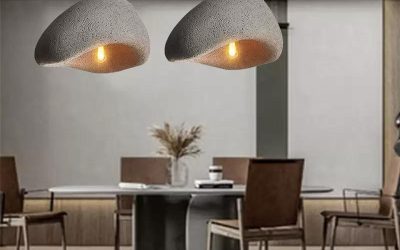
4. Pendant lights: Pendant lights are suspended from the ceiling by a cord or chain. They come in a wide range of designs and can be used as a single statement piece or grouped together for a more dramatic effect.
5. Recessed lights: Recessed lights are installed into the ceiling, creating a sleek and modern look. They provide a focused and directional light that can be used to highlight specific areas or objects in the living room.
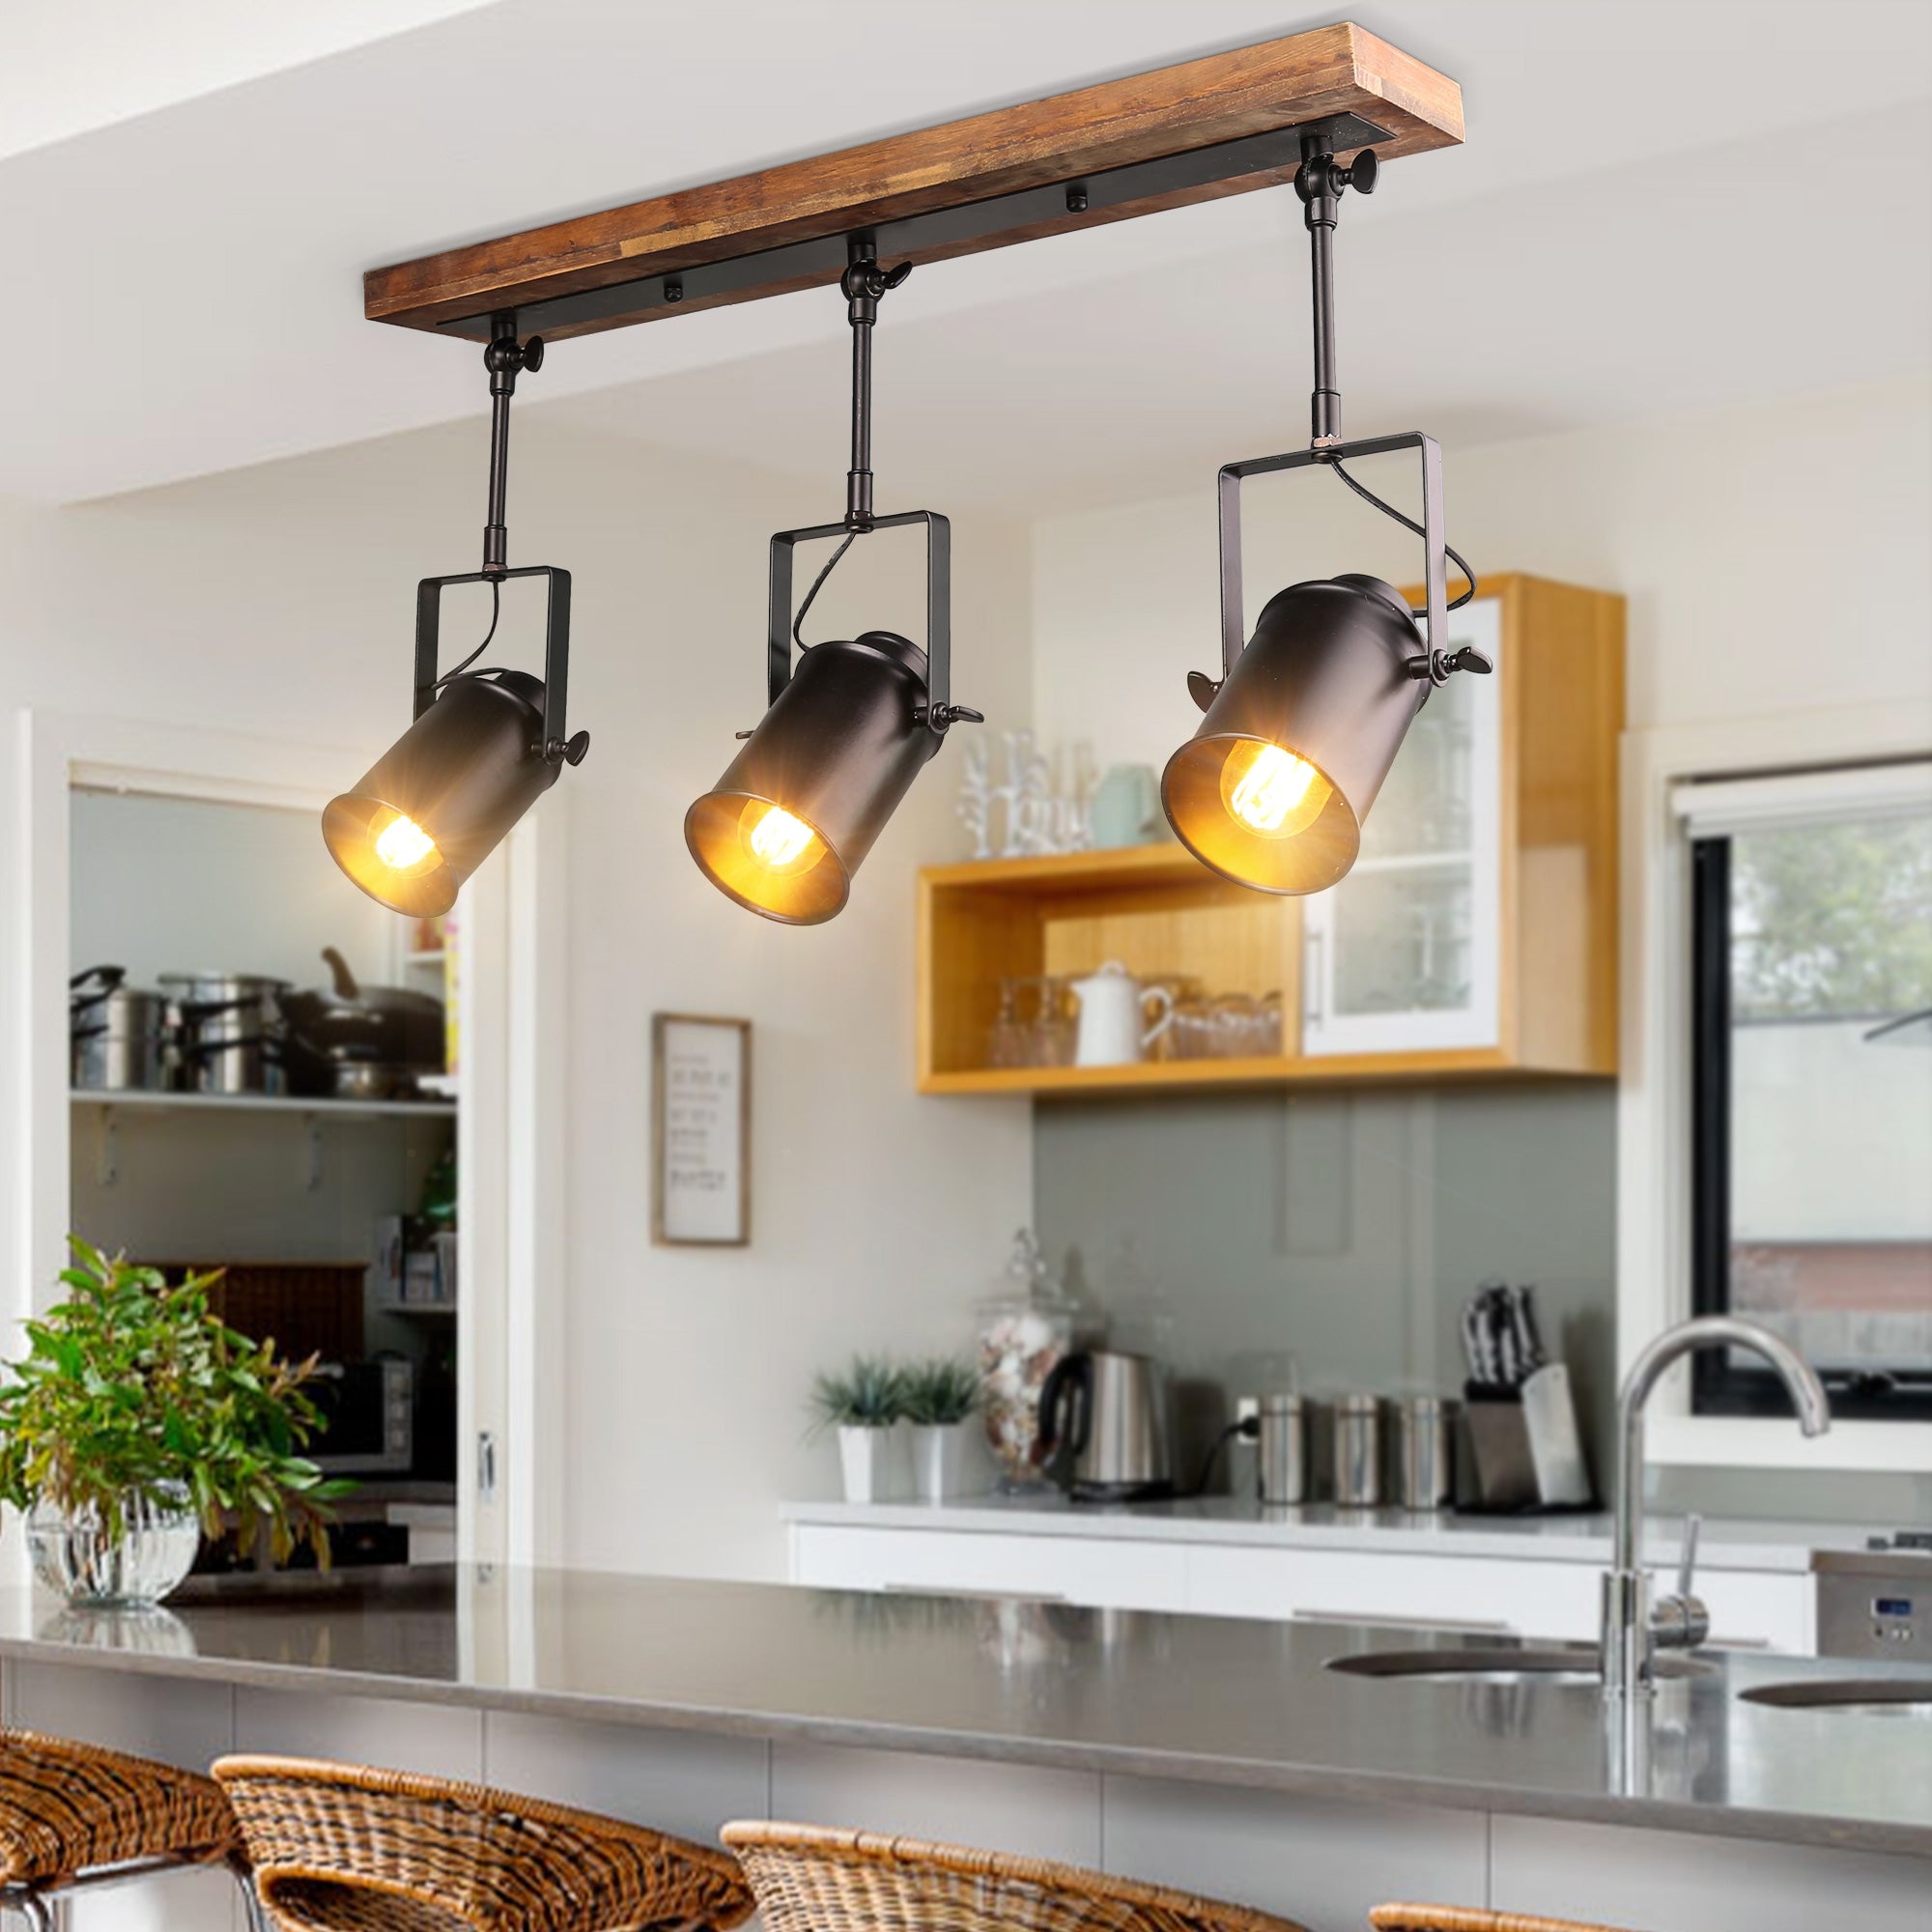
6. Track lights: Track lights consist of multiple adjustable fixtures mounted on a track. They allow you to direct the light where it is needed, making them ideal for highlighting artwork or architectural features in your living room.
Choosing the Right Size and Style for Your Living Room
When selecting the size and style of your living room ceiling light, there are several factors to consider. Firstly, consider the size of your living room. A larger room may require multiple ceiling lights or a larger statement piece, while a smaller room may only need one or two smaller fixtures.
Secondly, consider the height of your ceiling. For lower ceilings, flush mount or semi-flush mount lights are ideal as they do not hang down too far. For higher ceilings, chandeliers or pendant lights can add drama and visual interest.
Lastly, consider the overall style and decor of your living room. Your ceiling light should complement the existing design elements and enhance the overall aesthetic appeal of the space. For example, if you have a modern and minimalist living room, recessed lights or track lights would be a suitable choice. If you have a more traditional or vintage-inspired living room, a chandelier or pendant light may be more appropriate.
Tips for Installing Your New Ceiling Light
Before installing your new ceiling light, it is important to take some safety precautions. Firstly, turn off the power to the existing light fixture at the circuit breaker. Use a voltage tester to ensure that the power is indeed off before proceeding with the installation.
Next, gather all the necessary tools and materials for the installation. This may include a ladder, wire strippers, wire connectors, a screwdriver, and the new ceiling light fixture itself.
To install your new ceiling light, follow these step-by-step instructions:
1. Remove the existing light fixture by unscrewing the mounting screws and disconnecting the wires.
2. Install the mounting bracket for your new ceiling light according to the manufacturer’s instructions.
3. Connect the wires from the ceiling to the wires of the new light fixture using wire connectors. Make sure to match the corresponding colors (e.g., black to black, white to white).
4. Attach the new light fixture to the mounting bracket using the provided screws.
5. Turn on the power at the circuit breaker and test the new ceiling light to ensure it is working properly.
Energy Efficiency and Cost Savings

In today’s environmentally conscious world, energy efficiency is an important consideration when choosing lighting options for your living room. LED lights are one of the most energy-efficient options available. They consume significantly less energy than traditional incandescent bulbs and have a much longer lifespan.
To further reduce energy consumption and save money on your electricity bill, consider implementing these tips:
1. Use natural light whenever possible by opening curtains or blinds during daylight hours.
2. Install dimmer switches to adjust the brightness of your ceiling lights according to your needs.
3. Use task lighting for specific activities such as reading or working, rather than relying on overhead lighting for the entire room.
4. Turn off lights when they are not in use, and consider installing motion sensors or timers to automatically turn off lights in unoccupied areas.
Creating a Focal Point with Your Living Room Ceiling Light
Your living room ceiling light can serve as a focal point and centerpiece in the space. By choosing a statement piece or a unique design, you can draw attention to your ceiling light and make it a conversation starter.
To create a focal point with your ceiling light, consider the following tips:
1. Choose a large and visually striking chandelier or pendant light that complements the overall style of your living room.
2. Hang your ceiling light in a central location, such as above the coffee table or in the middle of the room.
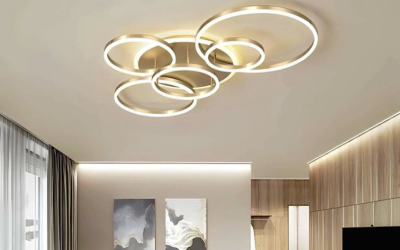
3. Use lighting fixtures with unique shapes, colors, or materials to add visual interest and make a statement.
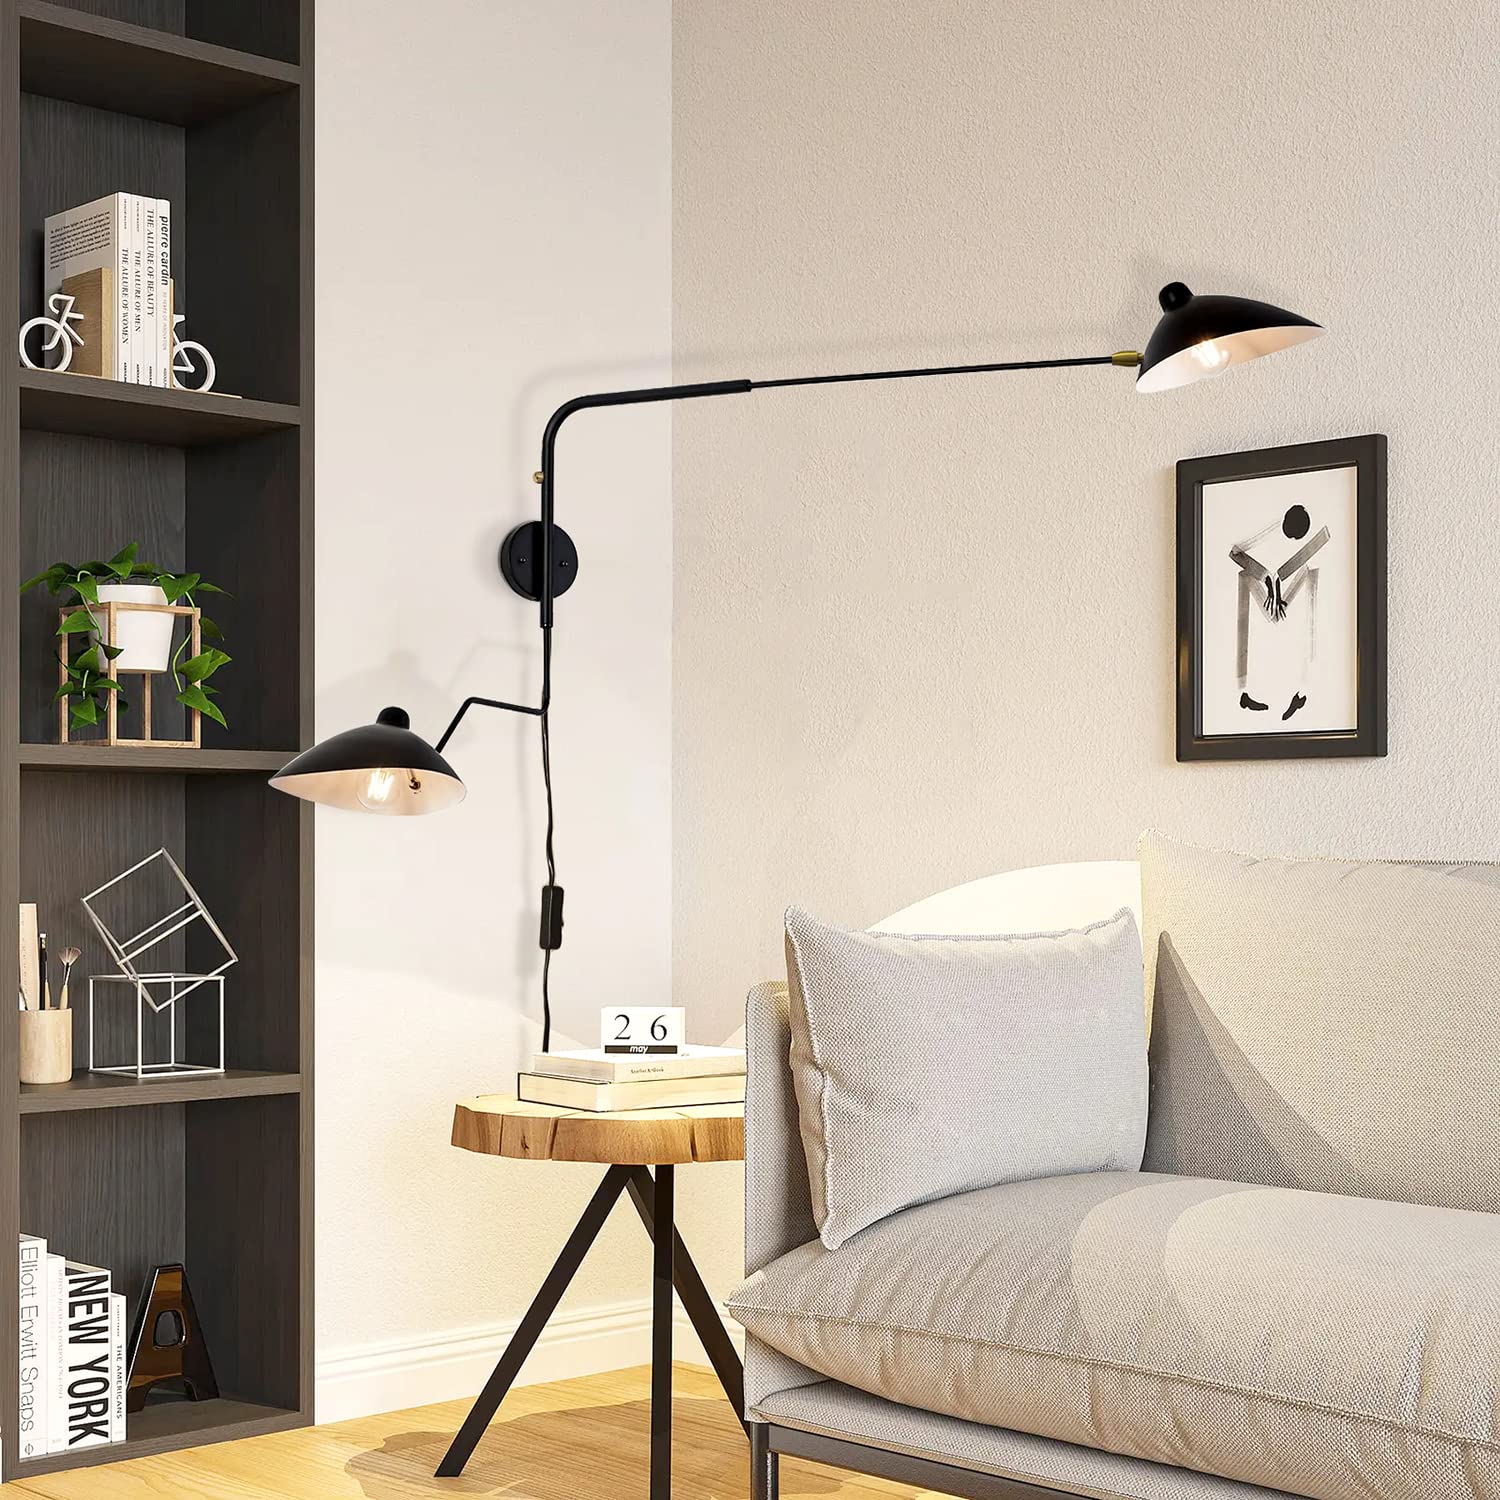
4. Consider adding additional lighting elements such as wall sconces or floor lamps to create layers of light and further enhance the focal point effect.
Adding Dimmer Switches for Versatility
Installing dimmer switches for your living room ceiling lights can provide added versatility and control over the ambiance of the space. Dimmer switches allow you to adjust the brightness of your lights according to your needs and preferences.
To install a dimmer switch for your ceiling light, follow these steps:
1. Turn off the power at the circuit breaker and use a voltage tester to ensure that the power is off.
2. Remove the existing light switch cover plate and disconnect the wires from the switch.
3. Install the dimmer switch according to the manufacturer’s instructions, connecting the wires as directed.
4. Attach the dimmer switch cover plate and turn on the power at the circuit breaker.
5. Test the dimmer switch by adjusting the brightness of your ceiling light.
Maintenance and Cleaning of Your Living Room Ceiling Light
To keep your living room ceiling light clean and well-maintained, follow these tips:
1. Turn off the power at the circuit breaker before cleaning or performing any maintenance on your ceiling light.
2. Use a soft cloth or duster to remove dust and debris from the surface of the light fixture.
3. For glass or crystal chandeliers, use a mixture of mild dish soap and warm water to gently clean the surfaces. Avoid using abrasive cleaners or scrub brushes that could scratch the glass.
4. Replace any burnt-out bulbs promptly to ensure optimal performance and prevent damage to the light fixture.
If you encounter any issues with your ceiling light, such as flickering lights or loose connections, it is best to consult a professional electrician for assistance.
Enjoying Your New Living Room Ambiance
Updating your living room ceiling light can have a significant impact on the overall ambiance and mood of your space. By choosing the right size and style, installing it properly, and maintaining it regularly, you can enjoy the benefits of improved functionality, enhanced aesthetics, and energy efficiency.
Take the time to explore different types of ceiling lights and consider how they can complement your living room decor. Whether you opt for a sleek and modern recessed light or a grand and elegant chandelier, your new ceiling light will undoubtedly become a focal point in your living room, creating a warm and inviting atmosphere for you and your guests to enjoy.
If you’re looking to update your living room lighting, you may also be interested in learning how to make your floor lamp look brand new again. This helpful article from Profile Lighting provides tips and tricks for restoring the beauty and functionality of your floor lamp. From cleaning the lampshade to replacing the bulb, you’ll find all the information you need to bring new life to your favorite floor lamp. Check out the article here for step-by-step instructions and expert advice.

